Machine Language Programming
Hello, dear friend, you can consult us at any time if you have any questions, add WeChat: daixieit
From Nand to Tetris
Building a Modern Computer From First Principles
Project 4: Machine Language Programming
Background
Every hardware platform is designed to execute commands in a certain machine language, expressed using agreed-upon binary codes. Writing programs directly in binary code is a possible, yet unnecessary. Instead, we can write such programs using a low-level symbolic language, called assembly, and have them translated into binary code by a program called assembler. In this project you will write some low-level assembly programs, and will be forever thankful for high-level languages like Java and Python. (Actually, assembly programming can be highly rewarding, allowing direct and complete control of the underlying machine.)
Objective
To get a taste of low-level programming in machine language, and to get acquainted with the Hack computer platform. In the process of working on this project, you will become familiar with the assembly process - translating from symbolic language to machine-language - and you will appreciate visually how native binary code executes on the target hardware platform. These lessons will be learned in the context of writing and testing two low-level programs, as follows.
Programs
Contract
Write and test the two programs described above. When executed on the supplied CPU emulator, your programs should generate the results mandated by the specified tests.
Resources
The Hack assembly language is documented and discussed in Chapter 4.
The two relevant tools for this project are the supplied CPU emulator, which is required, and the supplied assembler, which is optional. Explanation: When an .asm file is loaded into the CPU emulator, the program translates the symbolic instructions into binary Hack instructions on the fly, obviating the need for a separate assembly process.
See the CPU emulator tutorial (PPT, PDF) and, optionally, the assembler tutorial (PPT, PDF).
The project 4 files are available in your nand2tetris/projects/04 folder.
Proposed Implementation
1. Use a plain text editor to write/edit the first assembly program. Start by loading and editing the supplied skeletal projects/04/mult/Mult.asm file.
2. If you want, you can use the supplied assembler for translating your Mult.asm program into Hack binary code. This activity is optional, since the CPU Emulator translates loaded .asm files on the fly.
3. Use the supplied CPU emulator to load, and then execute, your Mult program. This can be done either interactively, or using the supplied Mult.tst script. If there are any errors, goto step 1.
4. Repeat stages 1-3 for the second program (Fill.asm), working in the projects/04/fill folder.
Debugging tip: The Hack language is case-sensitive. A common error occurs when one writes, say, "@foo" and "@Foo" in different parts of one's program, thinking that both labels are treated as the same symbol. In fact, the assembler treats them as two different symbols. This bug is difficult to detect, so you should be aware of it.
Tools
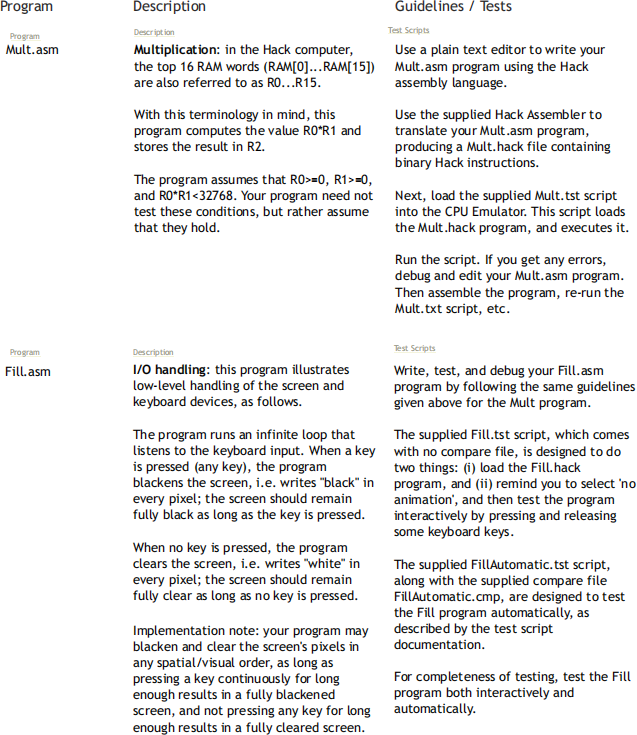
The supplied Hack Assembler can be used in either command mode (from the command shell), or interactively. The latter mode of operation allows observing the translation process in a visual and step-wise fashion, as shown below:
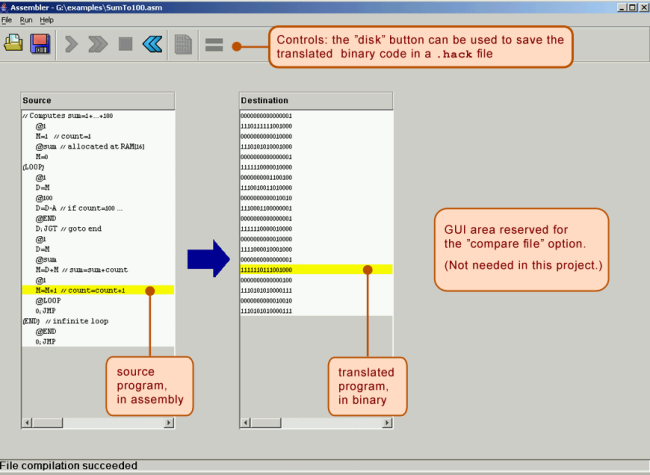
The machine language programs produced by the assembler can be tested in two different ways. First, one can run the resulting .hack program in the supplied CPU emulator. Alternatively, one can run the same program directly on the Hack hardware, using the supplied hardware simulator used in projects 1-3. To do so, one can load the Computer.hdl chip (built in project 5) into the hardware simulator, and then proceed to load the binary code (from the .hack file) into the computer's Instruction Memory (also called ROM). Since we will complete building the hardware platform and the Computer.hdl chip only in the next project, at this stage we recommend testing machine-level programs using the supplied CPU emulator.
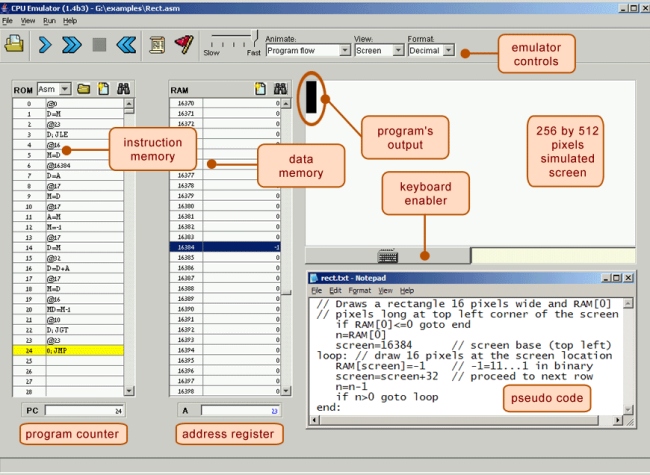
The supplied CPU Emulator includes a ROM (also called Instruction Memory) representation, into which the binary code is loaded, and a RAM representation, which holds data. For ease of use, the emulator enables the user to view the loaded ROM-resident code in either binary mode, or in symbolic / assembly mode. In fact, the CPU emulator even allows loading symbolic code written in assembly directly into the ROM, in which case the emulator translates the loaded code into binary code on the fly. This utility seems to render the supplied assembler unnecessary, but this is not the case. First, the supplied assembler shows the translation process visually, for instructive purposes. Second, the assembler generates a persistent binary file. This file can be executed either on the CPU emulator, as we illustrate below, or directly on the hardware platform, as we'll do in the next project.
2024-04-02
Building a Modern Computer From First Principles